Orchid Care for Beginners: Phalaenopsis
Greek Mythology
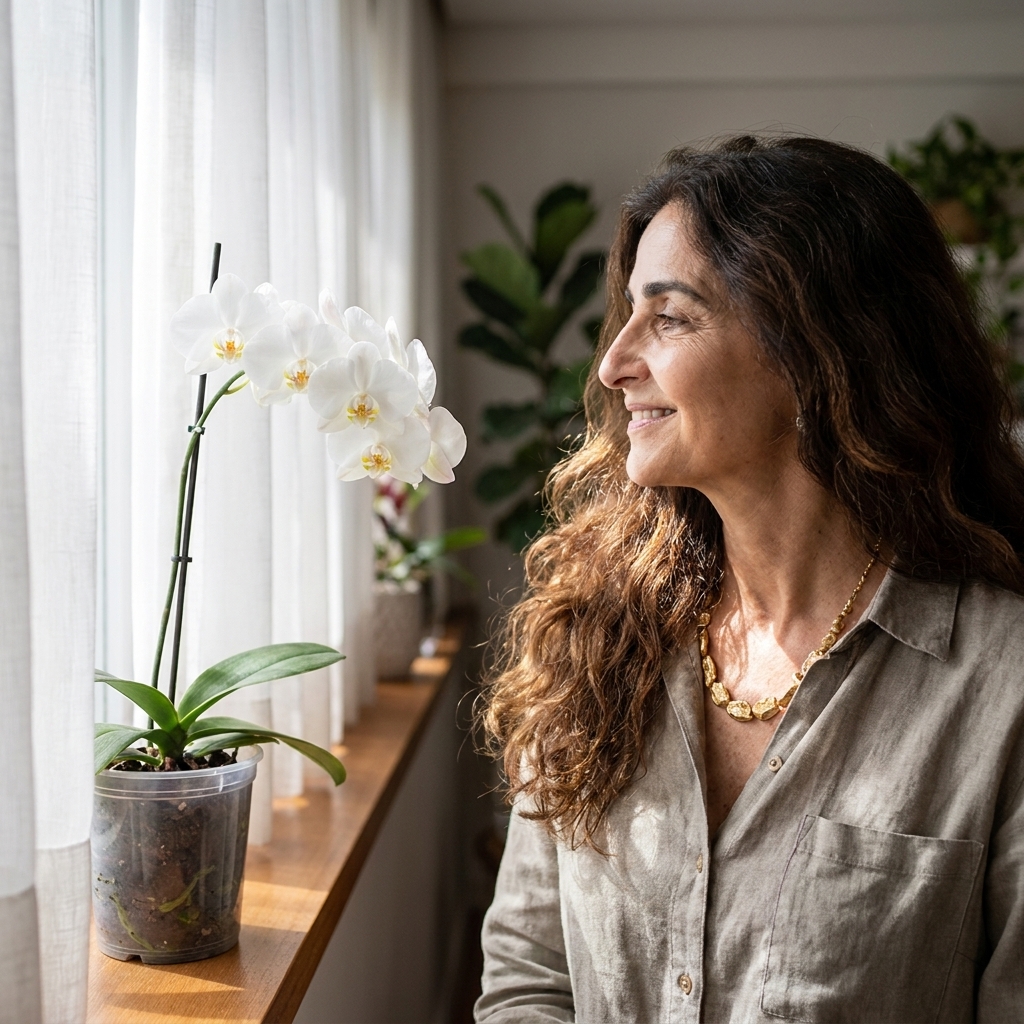
Phalaenopsis orchids, the classic “moth orchid,” have a reputation for being temperamental. In reality, they are just particular, like a deity who wants incense at the right hour and will absolutely punish you for flooding the temple.
The good news is that Phals are among the most forgiving orchids for beginners because they are built for modern homes: warm temperatures, indirect light, and a steady, gentle rhythm of care. If you learn two skills, you are basically initiated. Water correctly. Give bright, indirect light. Everything else is refinement.

Meet the Phalaenopsis
Phalaenopsis are epiphytes in nature. They grow clinging to trees, not buried in soil. That one fact explains nearly every beginner struggle. Their roots want air, brief drenching rains, and then time to dry a bit. When we pot them like a houseplant in dense soil, the roots suffocate and rot, and the orchid quietly exits the mortal plane.
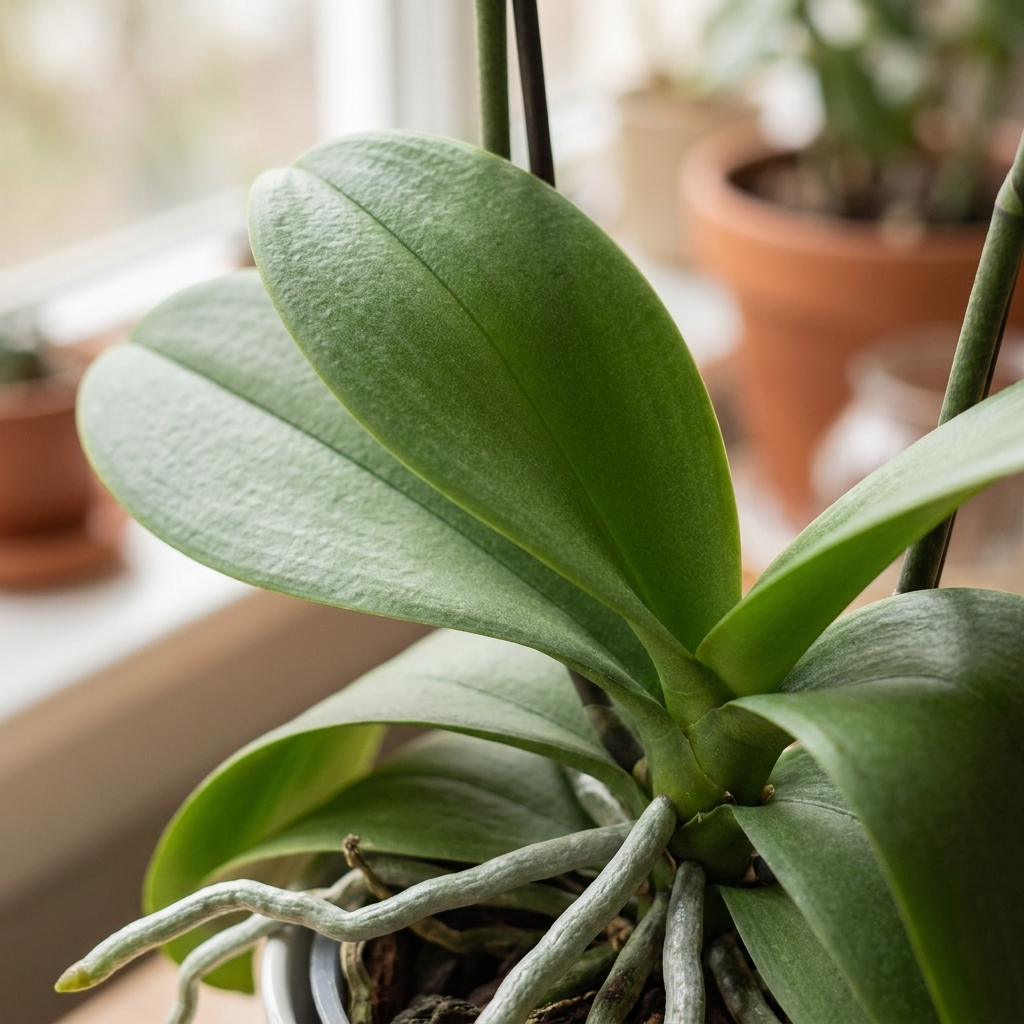
What a healthy Phal looks like
- Leaves: firm, glossy, and slightly leathery. Minor cosmetic marks are fine. Limp, accordion-like leaves usually mean dehydration or root issues.
- Roots: silvery-gray when dry, bright green when freshly watered. Mushy brown roots are trouble.
- Crown: the center where new leaves emerge should be dry and clean. Water sitting in the crown is an invitation to rot.
Light: bright, indirect, and consistent
If orchid care has a single sacred law, it is this: give more light than you think, but not harsh sun. A Phal that survives in low light may stay alive, but it often will not bloom again. Blooming takes energy, and energy comes from light.
Best windows
- East window: ideal. Gentle morning sun, then bright shade.
- South or west window: workable with a sheer curtain, or pulled back from the glass so leaves do not scorch.
- North window: often too dim for reblooming unless you supplement with a grow light.
Southern hemisphere note: swap north and south guidance.
Quick light test
Look at the leaf color, but treat it as a clue, not a verdict. Deep, dark green often means too little light. Many healthy Phals sit around a medium green, but cultivar and nutrition can shift this. Better signs are steady growth, firm leaves, and eventually a willingness to bloom. If leaves look yellowed with dry, pale patches, that can be sunburn.
Watering: the beginner make-or-break
Most Phalaenopsis die from love. Specifically, constant moisture. Think of watering as a storm passing through, not a swamp settling in.
When to water
- Check the roots: silvery-gray means water is welcome. Green means wait.
- Check the pot weight: a freshly watered pot feels noticeably heavier.
- Typical schedule: about every 7 to 10 days in many homes, but your conditions decide, not the calendar.
How to water (the safe method)
- Take the orchid to the sink.
- Water thoroughly with room-temperature water until it runs freely from the bottom.
- Let it drain completely. No standing water in a cachepot (a decorative outer pot that can trap water).
- Keep water out of the crown and between leaves, especially overnight. If it happens, blot gently with a paper towel.
Water quality
If your water is heavily softened or very mineral-heavy, salts can build up in the potting mix. If you see crusty residue or leaf tip browning that does not match watering issues, try rainwater, filtered water, or distilled water mixed with tap.
Ice cubes?
You will see the “three ice cubes a week” advice. It can work for some people as a measured routine, but orchids are tropical, and cold water against roots is not ideal. Also, that method assumes a fairly specific pot size and setup, and can underwater or overwater depending on your media and home. If you want predictable watering, it is better to measure a small amount of room-temperature water and still allow drainage.
If your orchid is in dense moss and it stays wet for many days, water less often. If it is in chunky bark and dries quickly, water a bit more often. The mix is the metronome.
Humidity and airflow: the quiet magic
Phalaenopsis like moderate humidity, roughly 40 to 60%, but they also want airflow so roots and leaves dry properly. In Seattle winters, indoor air can get dry, and heaters can turn a room into an accidental desert.
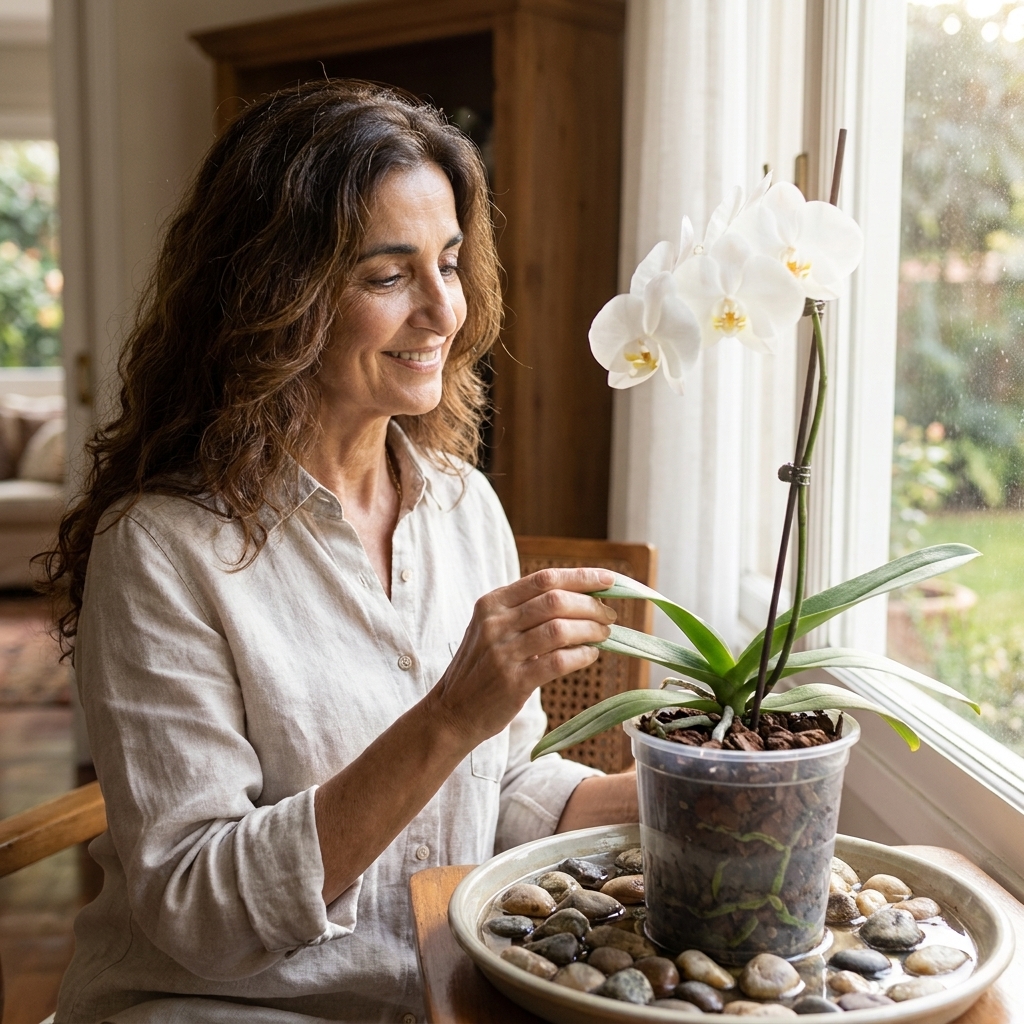
Easy humidity upgrades
- Humidity tray: a shallow tray with pebbles and water, with the pot sitting on pebbles above the waterline.
- Group plants: a small cluster of houseplants creates a more humid microclimate.
- Humidifier: the most effective option if your home is consistently dry.
A note on misting
Misting is not very effective long-term and can encourage leaf spotting if water sits on leaves. If you mist, do it in the morning and aim for the air around the plant, not the crown.
Temperature: steady comfort, gentle signals
Phalaenopsis are comfortable in typical home temperatures.
- Daytime: about 70 to 85°F (21 to 29°C)
- Night: about 60 to 70°F (16 to 21°C)
To encourage a flower spike, Phals often respond to a slight night temperature drop in early fall. A difference of about 10°F (5 to 6°C) between day and night for a few weeks can help. This is not a dramatic chill, just the gentle seasonal signal that the gods of blooming are listening. Bright, consistent light still does the heavy lifting.
Pot, medium, and repotting
If you remember that Phals are epiphytes, the potting choices get simpler. Your goal is airflow and fast drainage.
Best pots for beginners
- Clear plastic orchid pot with holes: lets you see roots and moisture level. Practical and almost unfairly helpful.
- Ventilated orchid pots: extra side holes improve airflow.
Best potting medium
- Orchid bark mix: excellent for beginners, dries predictably.
- Sphagnum moss: holds more moisture, useful in very dry homes but easier to overwater.
- Never regular potting soil: too dense, roots suffocate.
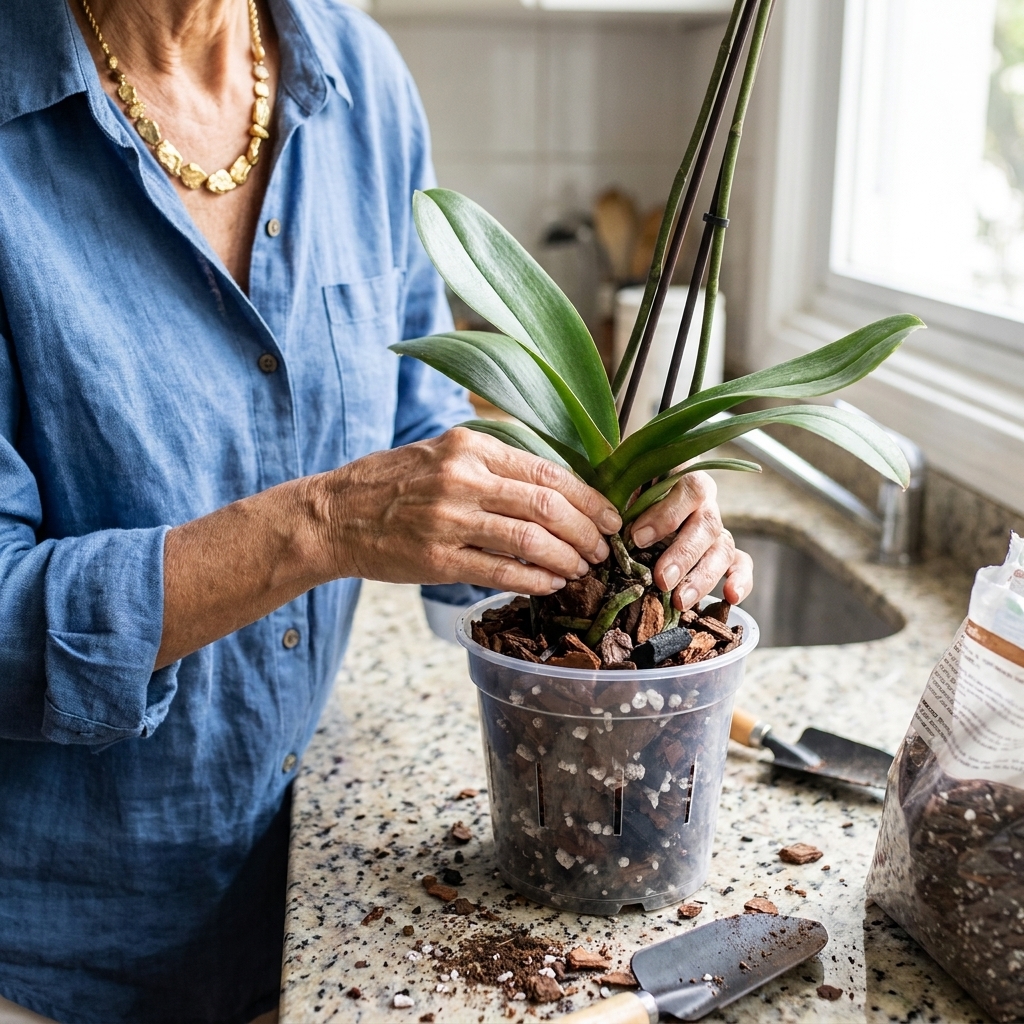
The hidden nursery plug
Many store-bought orchids have a dense peat or foam plug packed around the core roots. It holds water like a secret sponge and can trigger rot even when everything else seems right. When you repot, look for it and remove it if you find one.
When to repot
- Every 1 to 2 years, or when bark breaks down and stays wet too long.
- When roots are overcrowded, or the plant wobbles.
- After blooming is finished is usually easiest.
Simple repot steps
- Gently remove the orchid and tease away old medium.
- Trim dead roots with sterilized scissors. Dead roots are brown, hollow, or mushy.
- Place in a slightly larger pot only if needed.
- Fill with fresh bark, tapping the pot to settle without packing too tightly.
- Wait 2 to 3 days before watering if you trimmed many roots, so cuts can callus.
Fertilizer: small, steady offerings
Orchids do not need heavy feeding, but they appreciate consistency. Use a balanced orchid fertilizer and aim for the classic approach: weakly, weekly, meaning a diluted dose more often.
- During active growth: fertilize about once a week at 1/4 strength.
- In winter or low light: reduce to every 2 to 4 weeks, or pause if the plant is not actively growing.
- Flush monthly: water thoroughly with plain water to rinse salts from the medium.
Reblooming
The great heartbreak: the last flower falls, the spike goes bare, and the orchid looks like it is sulking. It is not sulking. It is resting and rebuilding.
What reblooming needs
- Bright indirect light for months, not days.
- Healthy roots and a medium that drains well.
- A slight night temperature drop in fall for many plants.
What to do with the flower spike
You have options, and none are scandalous.
- If the spike turns brown: cut it off near the base. It is done.
- If the spike stays green: you can cut above a node to try for a secondary bloom, or cut it off to encourage the plant to focus on roots and leaves.
For beginners, if the plant seems stressed or roots are weak, cutting the spike is often the kinder choice long-term.
Troubleshooting
Wrinkled leaves
- Most common cause: root problems, often from overwatering and rot, or from chronic underwatering.
- What to do: check roots, repot if medium is broken down, adjust watering based on root color and pot weight.
Yellow leaf
- One bottom leaf yellowing: often normal aging.
- Multiple leaves yellowing fast: check for overwatering, crown rot, or sunburn.
Bud blast (buds drop before opening)
- Causes: sudden temperature changes, drafts, very low humidity, moving the plant frequently, or ethylene exposure from ripening fruit.
- What to do: stabilize conditions, keep away from vents and fruit bowls.
Pests (mealybugs and scale)
- What you might see: cottony white tufts (mealybugs), brown bumps along leaf veins (scale), sticky residue, or yellow stippling.
- What to do: isolate the plant, wipe pests off with a cotton swab dipped in 70% isopropyl alcohol, and repeat every few days for a couple of weeks. Check undersides of leaves and the crown creases. If the infestation is heavy, consider an orchid-safe insecticidal soap or horticultural oil, used carefully and with good airflow.
Black spot in the crown
This can be serious. Crown rot spreads fast.
- Keep the crown dry.
- Improve airflow.
- Act quickly: remove trapped water immediately. If tissue is turning mushy or the spot is expanding, seek local orchid society advice for treatment options.
A simple weekly routine
If you want orchid care that feels less like a test and more like a ritual, keep it simple.
- Once a week: check roots through the pot. Water if roots are silvery and the pot feels light.
- Every watering: drain completely. No wet feet.
- Weekly (in active growth): fertilize lightly.
- Monthly: flush with plain water.
- Seasonally: in early fall, aim for cooler nights to encourage spikes.
Phalaenopsis orchids are not fragile. They are precise. Treat their roots like something sacred, give them bright gentle light, and they will bloom with the calm confidence of an ancient temple still standing after everything else has fallen.